Stone Grey Pebble Pouch Crochet Free Pattern
Introduction
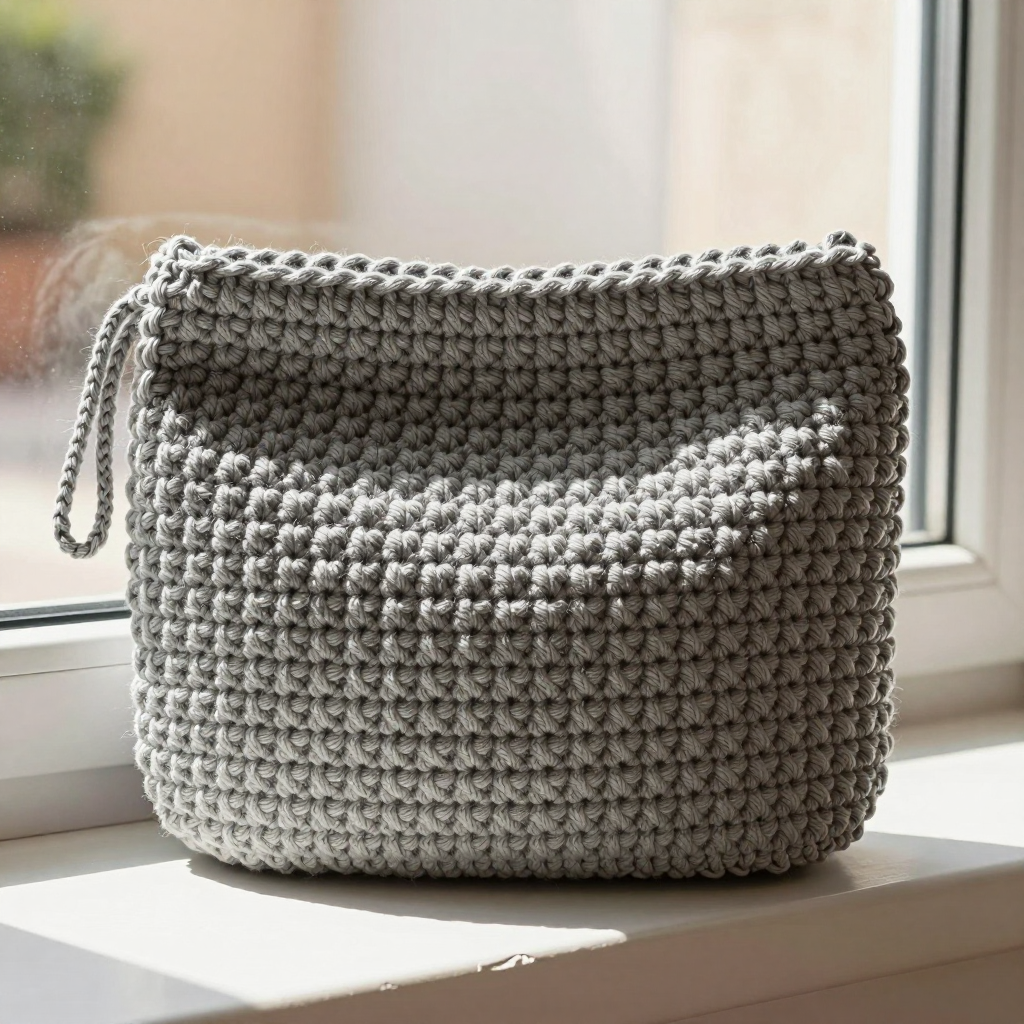
This little stone grey pebble pouch is the perfect first project for anyone who has just learned single crochet and wants to make something genuinely useful. Worked in one continuous spiral of single crochet, it starts as a rounded base, grows into a soft cylinder, and closes into a smooth, flat oval that feels like a warm river stone in your hand. The dense cotton fabric holds a bar of soap snugly, while the small three-stitch strap across the top creates a narrow slit that lets water drain away between uses. It looks calm and minimalist on the sink or in the shower, and it works up in under an hour with just 50 yards of yarn.
Materials Needed
- Yarn: Worsted weight (category 4) cotton yarn, approximately 50 yards of stone grey (A). Cotton is ideal because it holds up to water and dries quickly.
- Hook: 5.5 mm (I/9) crochet hook.
- Notions: Stitch marker, tapestry needle, scissors.
- Finished size: Approximately 4 inches wide x 5 inches tall, flat.
Abbreviations
- MR – magic ring: an adjustable loop you crochet into to start a closed circle.
- sc – single crochet: insert hook, pull up a loop, yarn over, pull through both loops.
- inc – increase: work 2 single crochet stitches into the same stitch.
- dec – decrease: work 2 stitches together into 1 (single crochet two together).
- ch – chain.
- st(s) – stitch(es).
- R / Rnd – row / round.
Gauge
14 stitches and 16 rows = 4 inches in single crochet. To check, crochet a small flat swatch in single crochet and measure the middle of the fabric; if you have more stitches than 14 in 4 inches, go up a hook size, and if you have fewer, go down.
Tips Before You Start
- Use a stitch marker in the first stitch of each round. Because the pouch is worked in a continuous spiral, there is no joining chain, and the marker keeps your counts honest.
- Keep your tension firm but not tight. Dense single crochet is what makes the pouch hold its pebble shape and keep the soap secure.
- The pouch is worked from the base up and closed at the top, so the opening is formed last by the strap — don't worry that it looks like a closed sack partway through.
- Cotton has little stretch, so trust the stitch counts rather than tugging the fabric to size.
Step-by-Step Instructions
Pouch (A)
Work in continuous rounds; do not join or turn unless told.
Rnd 1: MR, 6 sc into the ring (6 sts).
Rnd 2: inc in each st around (12 sts).
Rnd 3: [sc, inc] x6 (18 sts).
Rnd 4: [2 sc, inc] x6 (24 sts).
Rnd 5: [3 sc, inc] x6 (30 sts).
Rnds 6-12: sc in each st around (30 sts).
Rnd 13: [3 sc, dec] x6 (24 sts).
Rnd 14: [2 sc, dec] x6 (18 sts).
Rnd 15: [sc, dec] x6 (12 sts).
Rnd 16: dec x6 (6 sts).
Do not fasten off. Ch 1, turn. Skip first st, sc in next 3 sts (3 sts).
Strap Row 1: Ch 1, turn, sc in each st across (3 sts).
Strap Row 2: Ch 1, turn, sc in each st across (3 sts).
Fasten off, leaving a 6-inch tail.
Assembly and Finishing
Flatten the pouch so the opening sits at the top and the rounded base at the bottom. Bring the 3-stitch strap across the opening and whipstitch its end to the opposite side of the opening, bridging the gap to create a narrow slit. Use the 6-inch tail for this seam and work small, even stitches so the join stays flat. Weave in all ends on the inside of the pouch. Block lightly by misting with water and shaping flat into a smooth pebble oval; let it dry completely before inserting a bar of soap.
Pro Tips and Variations
- Make a set in soft sand, sage, and charcoal for a coordinated bathroom look, or add a simple surface-slip-stitch line for texture.
- For a larger bar of soap, add one more increase round (36 sts) and one extra plain round before the decreases.
- Work the strap two rows longer for a looser slit, or use a contrasting cotton scrap for the strap as a subtle accent.