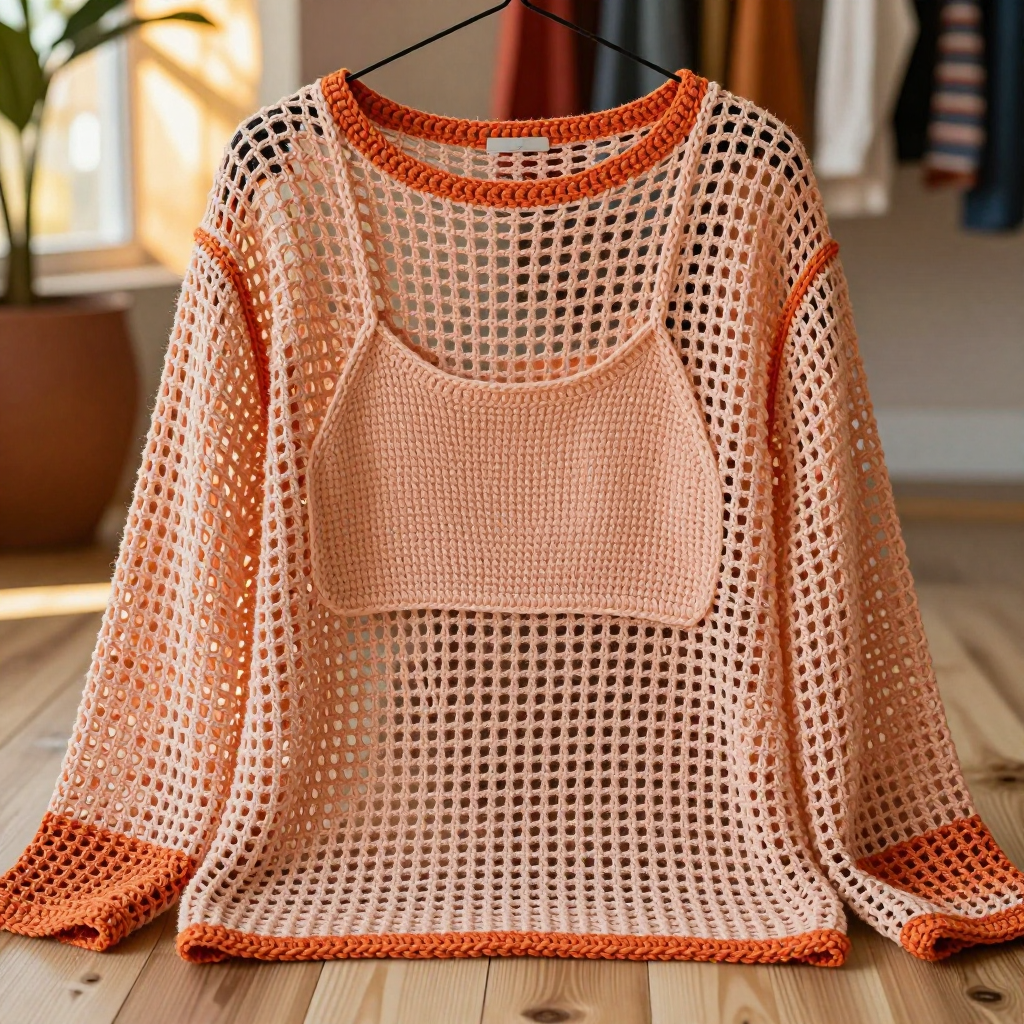
Café Terrace Crochet Fingerless Mitts Free Pattern

Café Terrace Crochet Fingerless Mitts Free Pattern
Introduction
These Café Terrace Fingerless Mitts are made for anyone who wants a quick, satisfying project with a little Parisian flair. The warm terracotta body is worked in a simple single crochet and chain-1 texture that mimics the woven seats of a café terrace chair, then finished with a cream trim at every edge. Each mitt is crocheted as a flat rectangle, folded, and seamed with a gap left open for your thumb, so there is no shaping to worry about. The result is a soft, slightly open fabric that keeps your hands warm while leaving your fingers free for texting, sipping coffee, or turning pages.
Materials Needed
- Yarn: Worsted weight (4) yarn, 100% acrylic. 1 skein (170 yd) terracotta (color A) and 1 skein (170 yd) cream (color B).
- Hook: 5.0 mm (H/8) crochet hook.
- Notions: Tapestry needle for seaming and weaving in ends, scissors, and a stitch marker (optional).
- Finished size: 7.5 inches long x 4.25 inches wide (flat, before seaming).
Abbreviations
- ch — chain: yarn over and pull through the loop on your hook.
- sc — single crochet: insert hook into stitch, yarn over, pull up a loop, yarn over, pull through both loops.
- sk — skip: leave the next stitch or space unworked.
- sp / sps — space / spaces: the gap made by a chain-1.
- st / sts — stitch / stitches.
- sl st — slip stitch: insert hook, yarn over, pull through both the stitch and the loop on your hook.
- rep — repeat.
Gauge
4 stitches x 3 rows = 1 inch x 1 inch in the pattern stitch. To check, crochet a small swatch in the sc and ch-1 pattern and measure a 1-inch section; adjust your hook size if needed to match.
Tips Before You Start
- Keep your chain-1 spaces loose and even so the textured grid stays open and the fabric does not pull tight.
- Count your stitches at the end of each row: you should always have 15 sc and 14 ch-1 spaces.
- When seaming, try the mitt on before weaving in ends so you can adjust the thumb gap to fit your hand.
- Work both mitts with the same tension so the pair matches in size and drape.
Step-by-Step Instructions
Mitt (make 2)
With color A, ch 30.
Row 1: sc in 2nd ch from hook, *ch 1, sk next ch, sc in next ch; rep from * across, turn. (15 sc, 14 ch-1 sps)
Row 2: ch 1, sc in first sc, *ch 1, sk next ch-1 sp, sc in next sc; rep from * across, turn. (15 sc, 14 ch-1 sps)
Rows 3–22: Rep Row 2. (15 sc, 14 ch-1 sps per row)
Do not fasten off. Change to color B.
Edging
Edging round: Ch 1, sc evenly around the entire piece, working 1 sc in each st and 1 sc in each row-end, join with sl st to first sc. Fasten off.
Assembly
Fold the rectangle in half lengthwise with right sides together. Seam the sides from the bottom edge up 2 inches, leave 1.5 inches open for the thumb, then seam the remaining 4 inches to the top edge. Weave in ends. Turn right side out.
Thumb Opening
Thumb round: With color B, join yarn at the thumb opening, sc evenly around the opening, join with sl st to first sc. Fasten off.
Rep all steps for the second mitt.
Assembly and Finishing
Use the tapestry needle and a length of matching yarn to seam each mitt as described: 2 inches from the bottom, a 1.5-inch thumb gap, then 4 inches to the top. Weave in all ends on the wrong side. Lightly block the finished mitts by misting with water and patting into shape, then let them dry flat so the edging lies smooth and even.
Pro Tips and Variations
- Swap the cream trim for a deep navy or mustard for a different café-inspired palette.
- Add one extra pattern row for a slightly longer mitt, or remove a row for a shorter fit.
- Work the edging in the same color as the body for a subtle, tonal look.