Deco Fan Door Pocket Organizer: Free Crochet Pattern

Introduction
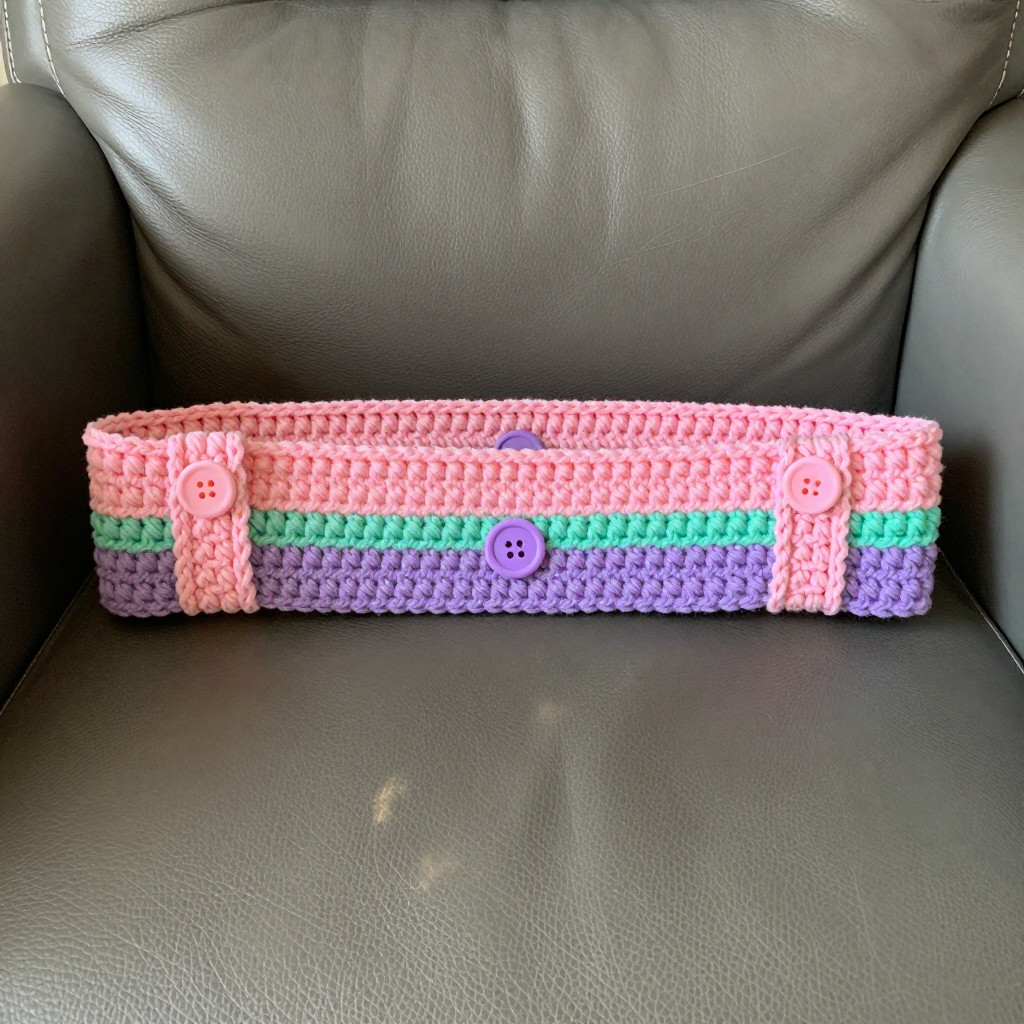
This little door pocket organizer is the perfect first project for anyone who wants to bring a bit of handmade charm into their car. It's worked flat in simple single and double crochet, so you only need to know two basic stitches to make the whole thing. The bulky wool makes it sturdy enough to hold sunglasses, receipts, or a phone, while the cotton candy pink and baby blue stripes give it a soft, retro look that feels lovely to the touch. Fold it, seam the sides, and you have a quick, useful pocket that hangs right over your door panel.
Materials Needed
- Yarn: Bulky weight wool, approx. 150 yds (137 m) total — 100 yds (91 m) cotton candy pink (A), 50 yds (46 m) baby blue (B).
- Hook: 6.0 mm (US J-10) crochet hook.
- Notions: Tapestry needle, scissors, stitch marker (optional).
- Finished size: Approx. 8″ (20 cm) wide x 6″ (15 cm) tall, folded to create a pocket 4″ (10 cm) deep.
Abbreviations
- ch — chain: make a loop of yarn and pull it through.
- sc — single crochet: insert hook, pull up a loop, yarn over, pull through both loops.
- dc — double crochet: yarn over, insert hook, pull up a loop, yarn over and pull through two loops twice.
- st(s) — stitch(es).
- sl st — slip stitch: insert hook, yarn over, pull through all loops on hook.
- RS / WS — right side / wrong side.
- A / B — Color A (cotton candy pink) / Color B (baby blue).
Gauge
12 sts and 12 rows = 4″ (10 cm) in the mosaic pattern (sc and dc). Work a small swatch and measure a 4″ square to check your tension before starting.
Tips Before You Start
- Change to Color B in the last stitch of Row 1 so the color is ready for Row 2.
- Keep your turning chains loose so the side edges stay even for seaming.
- Count your stitches at the end of every row — each row should have 24 sts.
- Work the striped section first, then the solid pink band, so you don't have to juggle two colors at the top.
Step-by-Step Instructions
Panel (worked flat in mosaic crochet, A and B)
With A, ch 25.
Row 1 (RS): sc in 2nd ch from hook and each ch across, changing to B in last st (24 sc).
Row 2 (WS): with B, ch 1, turn, sc in first st, [dc in next st, sc in next st] across (24 sts).
Row 3 (RS): with A, ch 1, turn, sc in each st across (24 sc).
Rows 4–36: repeat Rows 2–3, working Row 2 (B) on WS rows and Row 3 (A) on RS rows, ending with a WS row in B (24 sts each row).
Fasten off B, continue with A only.
Rows 37–48: with A, ch 1, turn, sc in each st across (24 sc).
Do not fasten off.
Fold and Seam
Fold panel in half with WS together, aligning rows 1 and 48. Join A at one side edge and sc evenly across the side edge through both layers to seam (approx. 12 sc). Repeat on the other side edge. Fasten off.
Edging
Join A at top right corner of the pocket opening. Work 1 round of sc evenly around the entire top opening (approx. 48 sc), join with sl st to first sc. Fasten off. Weave in ends.
Hanging Strap
With A, ch 30.
Row 1: sc in 2nd ch from hook and each ch across (29 sc).
Fasten off, leaving a long tail. Sew strap ends to the top back of the pocket at each side, forming a loop to hang over the door panel.
Assembly and Finishing
Seam both side edges as described above, then work the edging around the opening. Sew the strap ends firmly to the top back at each side, using the long tail and a tapestry needle. Weave in all remaining ends on the wrong side. Block lightly by misting with water and shaping flat to the finished measurements; let dry completely before hanging in your car.
Pro Tips and Variations
- Swap the colors for a custom look — try charcoal and mustard for a bolder car accessory.
- Add a second row of sc around the opening for a sturdier, more finished edge.
- Make a longer strap (ch 40) if your door panel is thicker, or add a button closure for extra security.