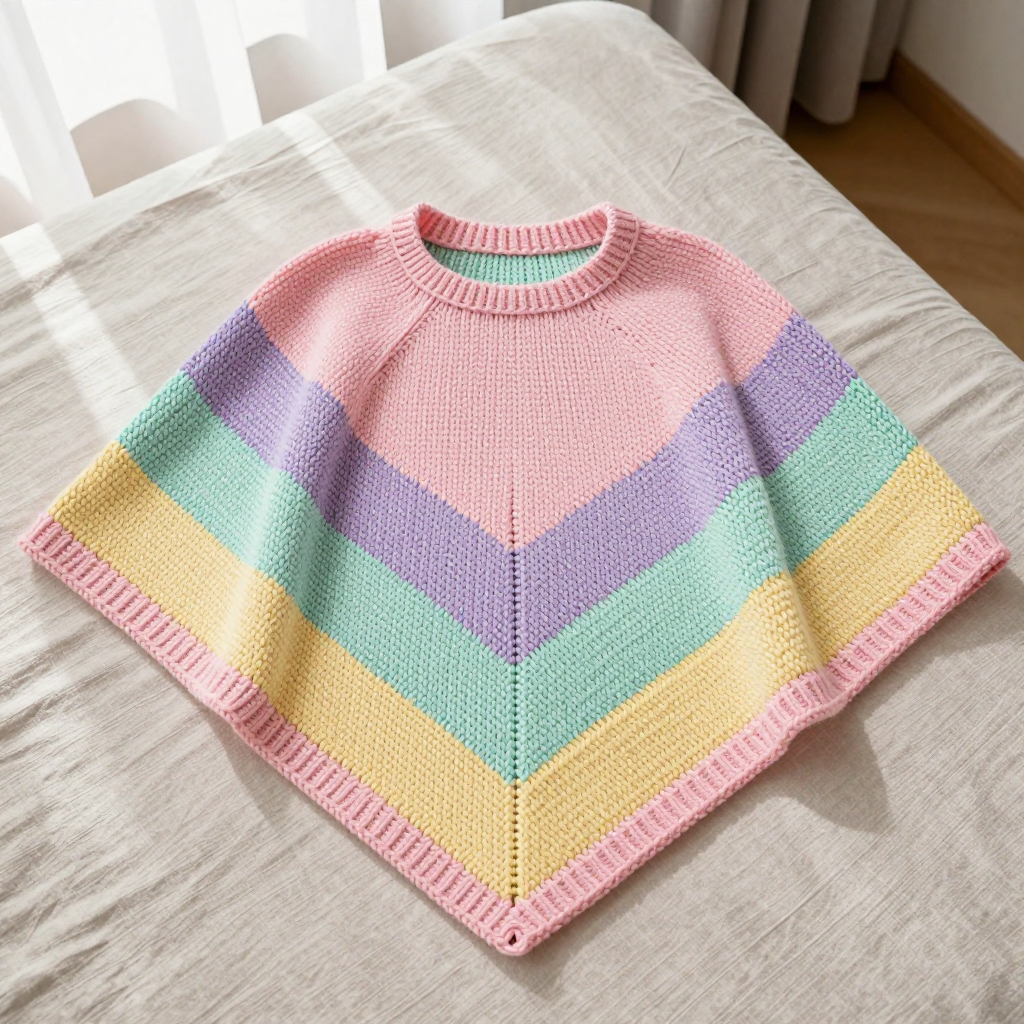
Dusty Rose Mitered Square Crochet Free Pattern

Dusty Rose Mitered Square Crochet Free Pattern
Introduction
This dusty rose mitered square is a wonderful project for anyone who has mastered single crochet and wants to try something with a little more visual interest. Worked diagonally from corner to corner, it grows into a neat 6 x 6 inch square with a raised ridge running down the center, giving it a whimsical geometric look. The alternating dusty rose and grey stripes create a soft, modern color-blocked effect that feels calm and cozy in the hand. It is a quick, satisfying make that works beautifully as a single coaster or as one block in a larger blanket.
Materials Needed
- Yarn: Worsted weight (4) acrylic yarn, approximately 50 yards total: 25 yards dusty rose (Color A), 25 yards grey (Color B)
- Hook: 5.5 mm (I-9) crochet hook
- Notions: Tapestry needle for weaving in ends, scissors, and a measuring tape or ruler
- Finished size: 6 x 6 inches (15 x 15 cm)
Abbreviations
- ch — chain: make a loop of yarn and pull it through the loop on your hook.
- sc — single crochet: insert hook into stitch, yarn over, pull up a loop, yarn over, pull through both loops.
- sl st — slip stitch: insert hook into stitch, yarn over, pull through both the stitch and the loop on your hook.
- st(s) — stitch(es)
Gauge
4 stitches and 4 rows = 1 inch in single crochet. To check your gauge, crochet a small swatch and measure a 1-inch section; if you have more stitches than 4, go up a hook size, and if you have fewer, go down a hook size.
Tips Before You Start
- The center increase (3 sc in the middle stitch) is what creates the diagonal ridge — count your stitches each row so the middle stitch always lands in the center.
- Keep your turning chain loose so the edges of the square stay straight and easy to border.
- Change colors on the last pull-through of the final stitch of the row before the new color begins, so the color change is clean.
- Work the border evenly, spacing stitches so the square does not ruffle or pull in.
Step-by-Step Instructions
Square (worked diagonally from corner to corner)
With Color A, ch 2.
Row 1: 3 sc in 2nd ch from hook (3 sc).
Row 2: Ch 1, turn. Sc in first sc, 3 sc in next sc, sc in last sc (5 sc).
Rows 3–12: Ch 1, turn. Sc in each sc across to the center sc, 3 sc in center sc, sc in each sc across (7, 9, 11, 13, 15, 17, 19, 21, 23, 25 sc).
Change to Color B.
Rows 13–24: Ch 1, turn. Sc in each sc across to the center sc, 3 sc in center sc, sc in each sc across (27, 29, 31, 33, 35, 37, 39, 41, 43, 45, 47, 49 sc).
Change to Color A.
Rows 25–36: Ch 1, turn. Sc in each sc across to the center sc, 3 sc in center sc, sc in each sc across (51, 53, 55, 57, 59, 61, 63, 65, 67, 69, 71, 73 sc).
Do not fasten off. Continue to border.
Border
Border round: Ch 1, turn. Work 1 round of sc evenly around the entire square, working 3 sc in each corner. Join with sl st to first sc. Fasten off.
Assembly and Finishing
This square is worked in one piece, so there is no seaming required. Weave in all ends on the wrong side with your tapestry needle, working each end through several stitches in a couple of directions so it stays secure. Block the square lightly by misting it with water and pinning it to 6 x 6 inches on a blocking mat; let it dry completely so the edges lie flat and the diagonal ridge sits neatly.
Pro Tips and Variations
- Make several squares in different color combinations and join them into a blanket or pillow front.
- Swap the grey for a soft cream or sage for a lighter, more neutral look.
- Add a second border round in a contrasting color for a slightly larger, more defined edge.