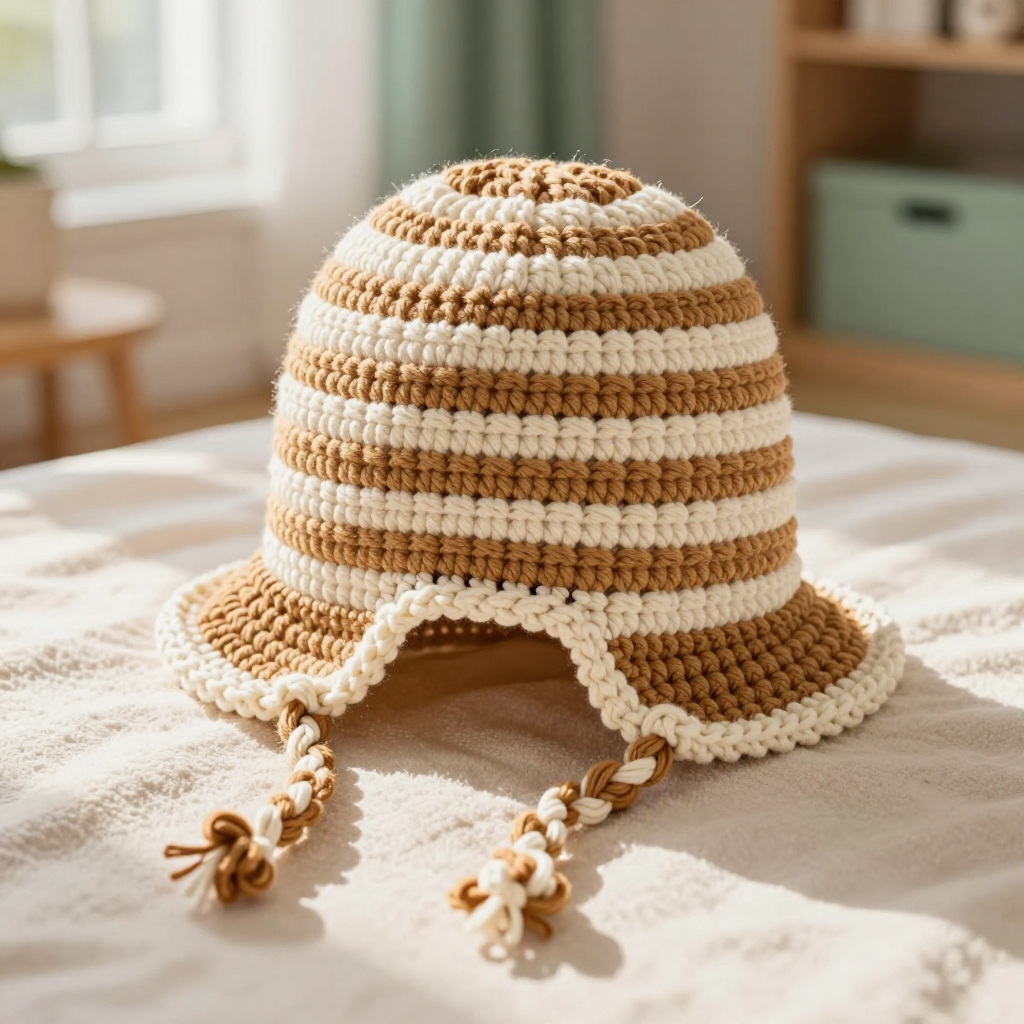
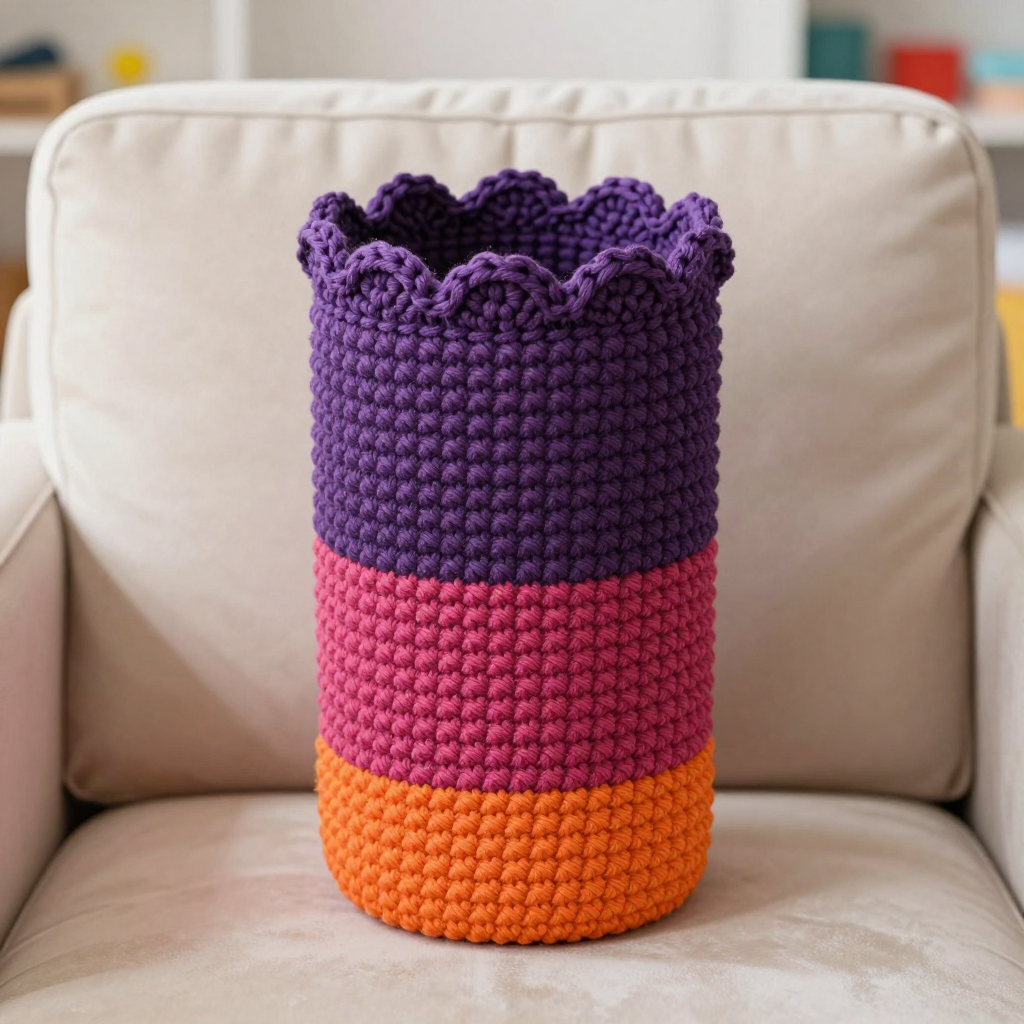
Space Age Panda Helmet Knit Free Pattern

Space Age Panda Helmet Knit Free Pattern
Introduction
This retro-futuristic panda helmet is the perfect project for anyone who wants a playful, plush baby hat that looks like it came straight from a space station nursery. Worked in soft, squishy chenille yarn in eye-popping neon green and pink, it knits up quickly on big needles and feels like a cloud against delicate skin. The simple tube body is topped with a rounded dome, while a cabled band wraps around the face opening and two little cabled ears sit on top for that unmistakable panda silhouette. It is a wonderful gift for a new baby or a fun photo prop, and the straightforward cables make it a great first step into cable knitting.
Materials Needed
- Yarn: Super bulky (weight 6) chenille plush yarn, 100% polyester, 80 yds (73 m) per 100 g skein.
- Main color (MC), Neon Green: 1 skein (approx. 60 yds used)
- Contrast color (CC), Neon Pink: 1 skein (approx. 30 yds used)
- Small amount of black yarn for eyes (optional)
- Needles: US 11 (8.0 mm) circular needle, 16" (40 cm) cable; set of 4 double-pointed needles US 11 (8.0 mm); cable needle US 11 (8.0 mm)
- Notions: Stitch marker, tapestry needle, scissors, pins
- Finished size: Fits head circumference 17–18" (43–46 cm); height 7" (18 cm)
Abbreviations
- CO: cast on
- BO: bind off
- k: knit
- p: purl
- k2tog: knit two stitches together (a decrease)
- sts: stitches
- pm: place marker
- RS: right side (the public-facing side of the work)
- WS: wrong side (the inside of the work)
- rep: repeat
- MC: main color
- CC: contrast color
- DPNs: double-pointed needles
Gauge
10 sts and 14 rows = 4" (10 cm) in stockinette stitch with US 11 needles. Knit a small swatch in the round (or flat and measure the middle) and check that 10 stitches measure 4" before beginning; adjust needle size if needed.
Tips Before You Start
- Chenille yarn sheds and can be slippery, so work with slightly firmer tension than usual and avoid over-handling the yarn to keep the plush pile fluffy.
- Because chenille hides stitch definition, count your stitches at the end of every decrease round to stay on track.
- When working the cable band, keep the cable needle close to the work and give the cable a gentle tug after crossing so the stitches sit neatly.
- Do not block with heat or heavy steam; chenille can flatten. A light spritz and air-drying is enough.
Step-by-Step Instructions
Hat Body (MC)
With MC and the circular needle, CO 48 sts. Join to work in the round, being careful not to twist, and pm at the join.
Rnds 1–6: [k2, p2] around (48 sts).
Rnds 7–30: k all sts (48 sts).
Rnd 31: [k6, k2tog] x6 (42 sts).
Rnd 32: k all (42 sts).
Rnd 33: [k5, k2tog] x6 (36 sts).
Rnd 34: k all (36 sts).
Rnd 35: [k4, k2tog] x6 (30 sts).
Rnd 36: k all (30 sts).
Rnd 37: [k3, k2tog] x6 (24 sts).
Rnd 38: k all (24 sts).
Rnd 39: [k2, k2tog] x6 (18 sts).
Rnd 40: k all (18 sts).
Rnd 41: [k1, k2tog] x6 (12 sts).
Rnd 42: k all (12 sts).
Rnd 43: [k2tog] x6 (6 sts).
Cut yarn, leaving a 6" tail. Thread the tail through the remaining 6 sts, pull tight to close the crown, and weave in the end on the inside.
Cabled Band (CC)
With CC and the circular needle, CO 16 sts. Work flat in rows.
Row 1 (RS): p2, k12, p2 (16 sts).
Row 2 (WS): k2, p12, k2 (16 sts).
Row 3: p2, slip 3 sts to cable needle and hold in front, k3, k3 from cable needle, slip 3 sts to cable needle and hold in back, k3, k3 from cable needle, p2 (16 sts).
Row 4: k2, p12, k2 (16 sts).
Rows 5–8: rep Rows 1–2 twice more (16 sts).
Rep Rows 1–8 until the band measures 17" (43 cm) from the cast-on edge, ending with Row 8. BO all sts. Sew the cast-on and bound-off edges together to form a ring.
Ears (make 2, CC)
With CC and DPNs, CO 12 sts. Divide onto 3 DPNs (4 sts each). Join to work in the round, pm.
Rnds 1–4: k all (12 sts).
Rnd 5: [k2, k2tog] x3 (9 sts).
Rnd 6: k all (9 sts).
Rnd 7: [k1, k2tog] x3 (6 sts).
Rnd 8: k all (6 sts).
Rnd 9: [k2tog] x3 (3 sts).
Cut yarn, thread through the remaining 3 sts, pull tight, and weave in the end.
Assembly and Finishing
Fold the hat body in half to find the front center. Pin the cabled band around the face opening, aligning the center of the band with the front center of the hat and overlapping the band ends at the back. Sew the band to the hat using matching CC yarn, working small, even stitches through the back of the band so they stay hidden. Sew the ears to the top of the hat about 3" (7.5 cm) apart, using the photo as a guide, and secure them firmly with a few extra stitches. If desired, embroider the eyes with black yarn using satin stitch. Weave in all remaining ends on the inside of the hat. Do not steam or press; lightly spritz with water and let the hat air-dry in shape.
Pro Tips and Variations
- Swap the neon colors for classic black and white for a traditional panda look, or use a single color for a minimalist helmet.
- Add a small pom-pom or a short braided tie at the back of the band for extra charm.
- For a slightly larger fit, go up one needle size and add 6 stitches to the cast-on, adjusting the decrease rounds accordingly.